
Register now

WordPress and WooCommerce

Set up Warranty Label for WooCommerce with ease

The plugin shows the legal warranty notice and, when needed, the GARAN label in your store. You only choose where the notices should appear. No coding is required.

You need a WordPress website with WooCommerce. No other experience is required.

WordPress Warranty Label plugin preview

A simple explanation

Two notices with different purposes

Warranty Label takes care of the presentation. You decide in the settings which notice is used in your store.

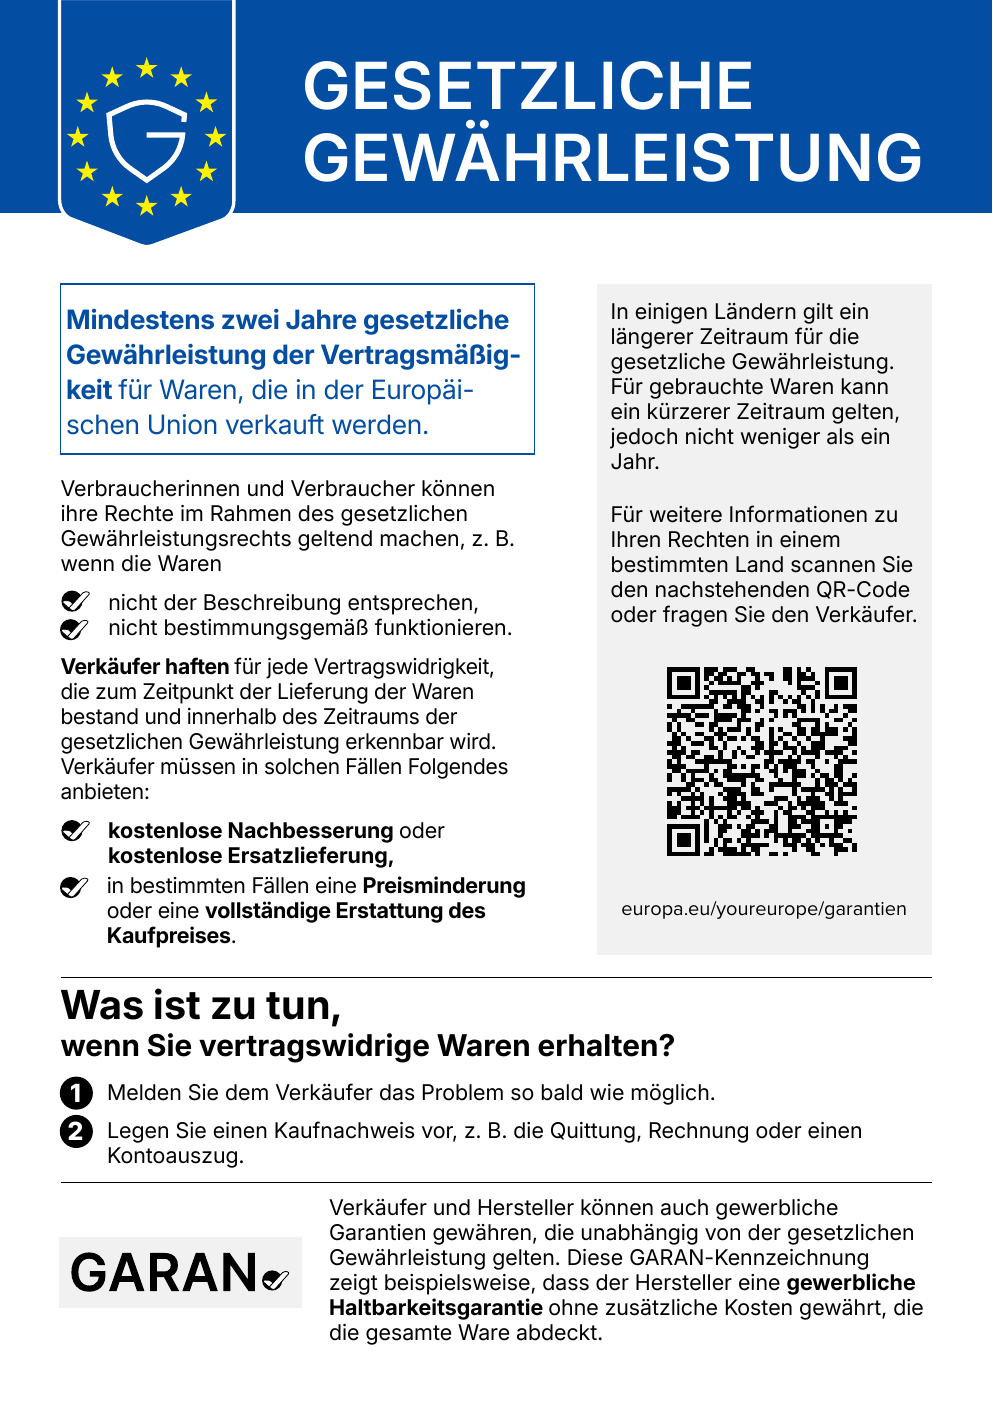
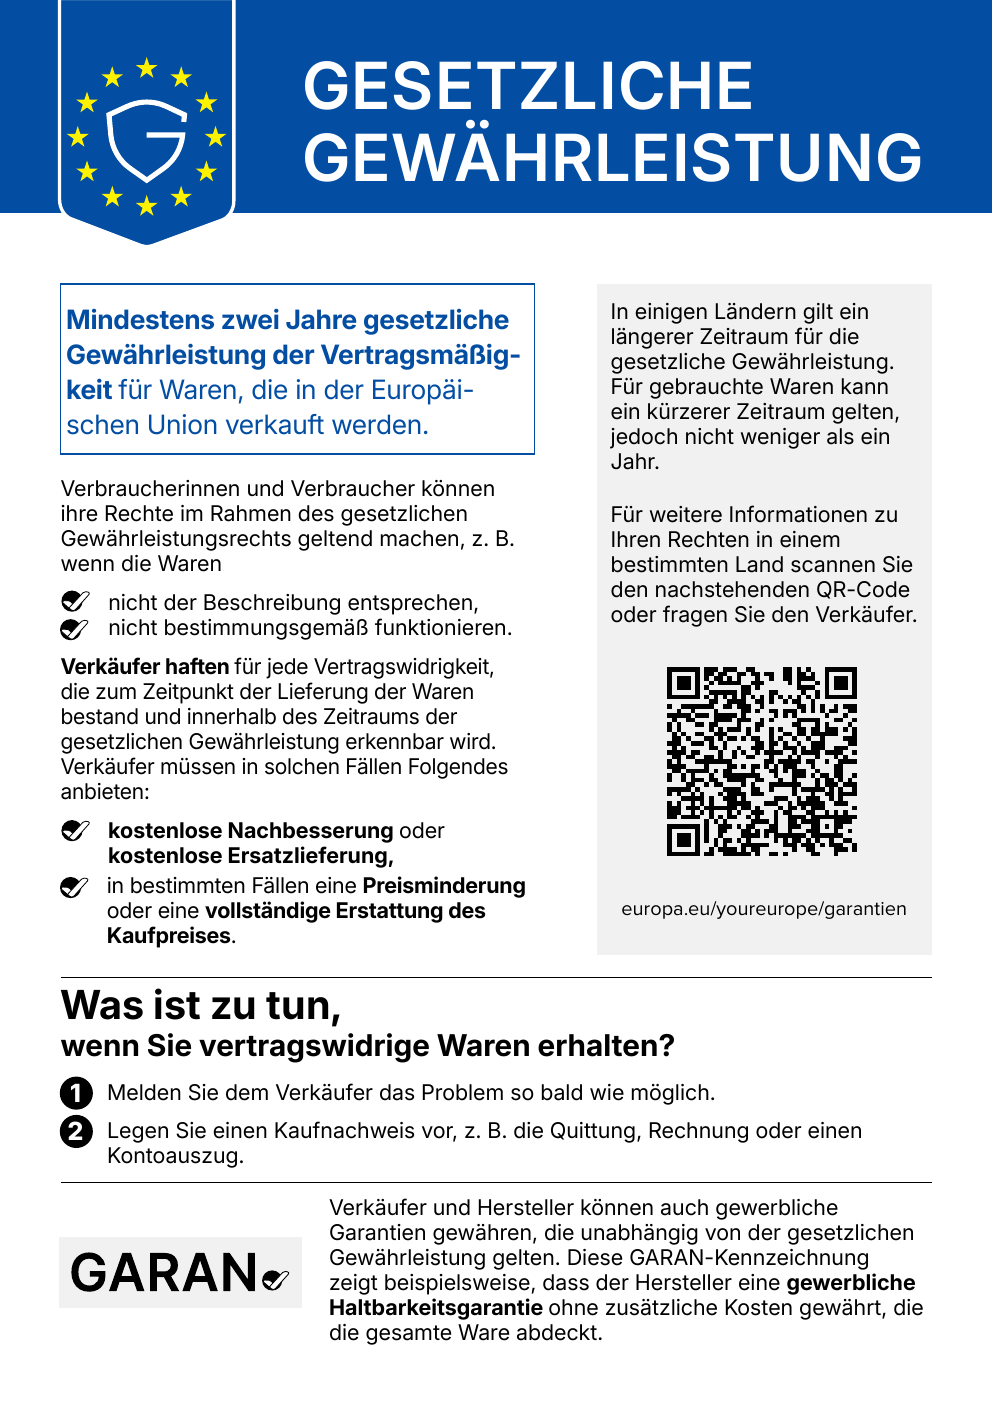
Official legal warranty notice
01

Legal warranty rights

This notice informs buyers about their legal rights. The plugin shows it on product pages and, if selected, in product listings, the cart and checkout.

The language automatically matches the language of your store.
Example GARAN label
02

Commercial guarantee

If you offer a commercial durability guarantee for a product, the plugin can create the GARAN label. The full label opens with one click.

You only enter the guarantee period, provider and product number.

How it works

Set it up once and the notices appear automatically

  1. 1

    Choose the display

    Choose a compact or full notice and decide where it should be visible.

  2. 2

    Enter the details

    For products with a commercial guarantee, enter the duration and provider. The product number is taken from WooCommerce.

  3. 3

    Show it in the store

    The plugin adds the notices automatically. If needed, you can use the included blocks in the WordPress editor.

Installation guide

Follow these steps in WordPress

Installation takes only a few minutes. Keep the downloaded file closed. WordPress needs the file exactly as you download it.

  1. 1

    Create an account and choose a plan

    Click Create account. Enter your details and choose the right plan for your website.

  2. 2

    Download the plugin

    Sign in to the customer area. Open Downloads and download the WordPress plugin. The file ends in .zip. Do not open or unpack it.

  3. 3

    Sign in to WordPress

    Open the administration area of your WordPress website. You can usually reach it by adding /wp-admin after your website address.

  4. 4

    Upload the plugin file

    Click Plugins on the left, then Add Plugin and Upload Plugin. Select the downloaded ZIP file and click Install Now.

  5. 5

    Activate the plugin

    After installation, click Activate Plugin. You will then see a new Warranty Label entry in the WooCommerce menu.

  6. 6

    Connect your account

    Open WooCommerce and Warranty Label. Sign in with the same details you use for the customer area. Then click Connect this website.

  7. 7

    Choose the display and check it

    Open General, Legal warranty and GARAN Label. Choose the places you want and save. Then open a product in your store and check the result.

Your first setup

Check these four areas once

After saving, the plugin works in the background. You do not need to change the settings on every visit.

  1. General

    Choose whether the plugin adds notices automatically or whether you want to use the WordPress blocks.

  2. Legal warranty

    Choose the compact or full view and decide where the notice should appear.

  3. GARAN Label

    Enter default values for the guarantee period and provider. You can change these values for individual products.

  4. Products

    Open a product only when it needs different guarantee details. The normal WooCommerce product number is used automatically as the model identifier.

Frequently asked questions

Straightforward answers

The most important questions about installation and daily use.

Do I need to know how to code?

No. Install the plugin, sign in and choose the settings you want. You do not need to change the source code of your website.

Do I have to edit every product?

No. The legal warranty notice does not require individual editing. For commercial guarantees, set default values and only edit products that differ.

Will it work with my WordPress theme?

Most WooCommerce themes show the notices automatically. If you want a custom position, use the Warranty Label blocks in the WordPress editor.

Can I use the plugin without an account?

No. You need a Warranty Label account and an active paid plan. After signing in, connect your website to the account.

What should I do if no notice appears?

Open WooCommerce and Warranty Label. First check that your website is connected. Then check that the place where you want the notice is enabled in the settings.

WordPress

Get started with Warranty Label

Create your account, choose a plan and then follow the simple guide on this page.

Create account